"Randy" Drone Frames.
I found this method of drone comb management at the Scientific Beekeeping website.
I've been using it for a few years and like the simplicity of the procedure.
I no longer have to manage many green frames, freezing them, then thawing, carrying frames back and forth to the bee yards etc.
Here is where I read about it.
http://scientificbeekeeping.com/fighting-varroa-5-biotechnical-tactics-i
http://scientificbeekeeping.com/fighting-varroa-biotechnical-tactics-ii
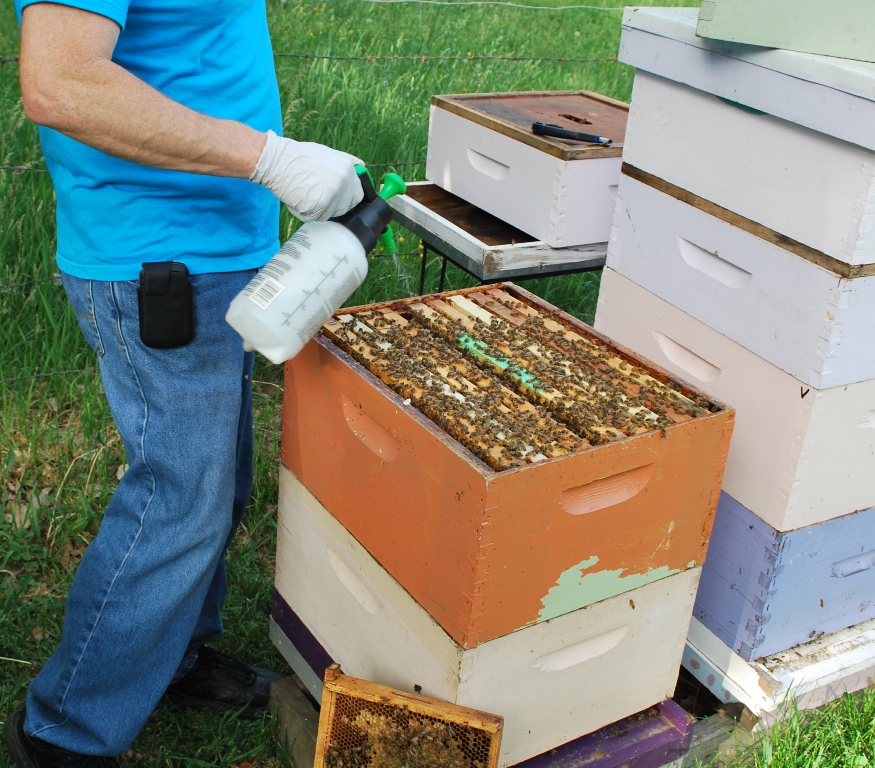
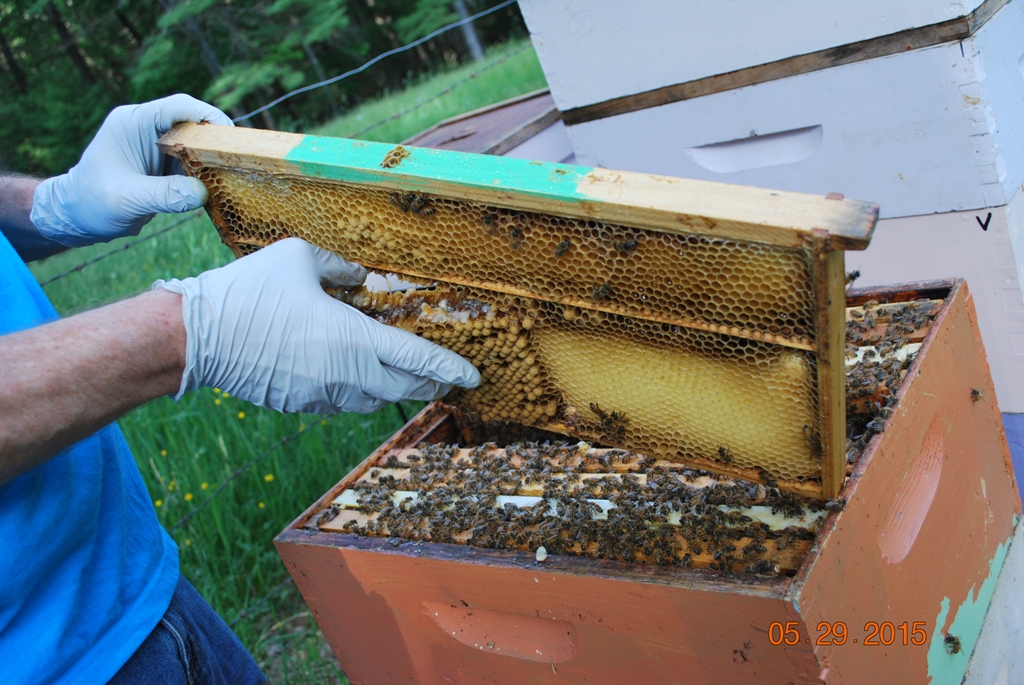
Preparing to remove the frame. Rather than a smoker, I use sugar water to keep the bees busy during my inspections.
If you use this method, use light trigger pressure, you're nor trying to pressure wash the bees off the frames, just spritzing the frames
The bees are too busy cleaning up the syrup to worry about what I'm doing.
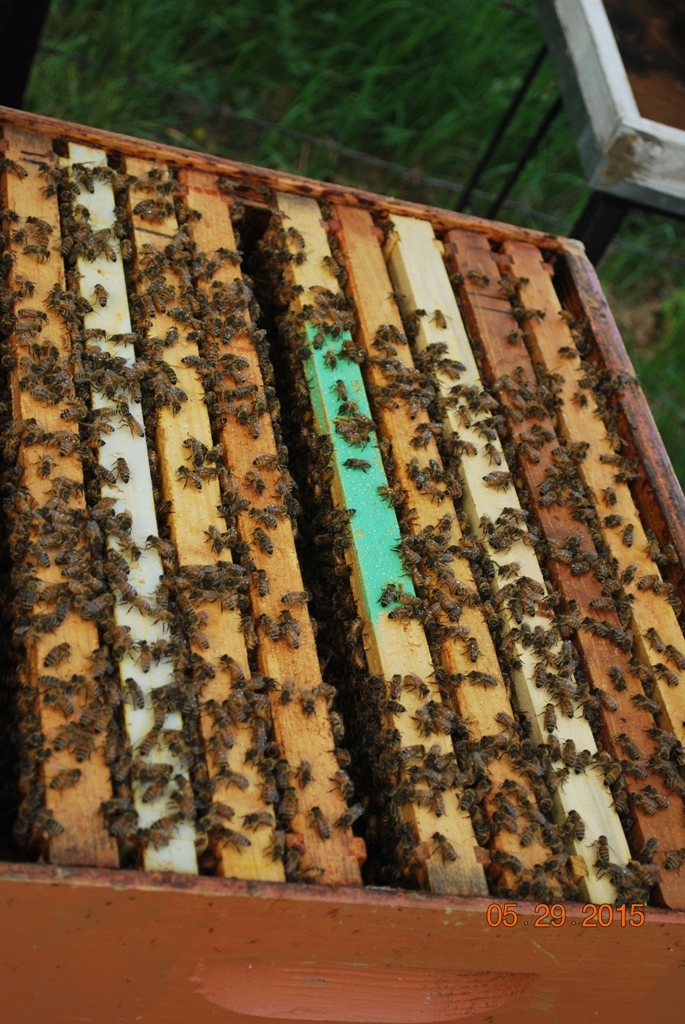
This is a frame from another hive showing the bees early in the process of building the free formed comb.
At this point you could remove some of the comb, this will allow for the beginning of a rotation of comb removal, rather then the wholesale removal of the entire frame of drone.
This is better illustrated below.
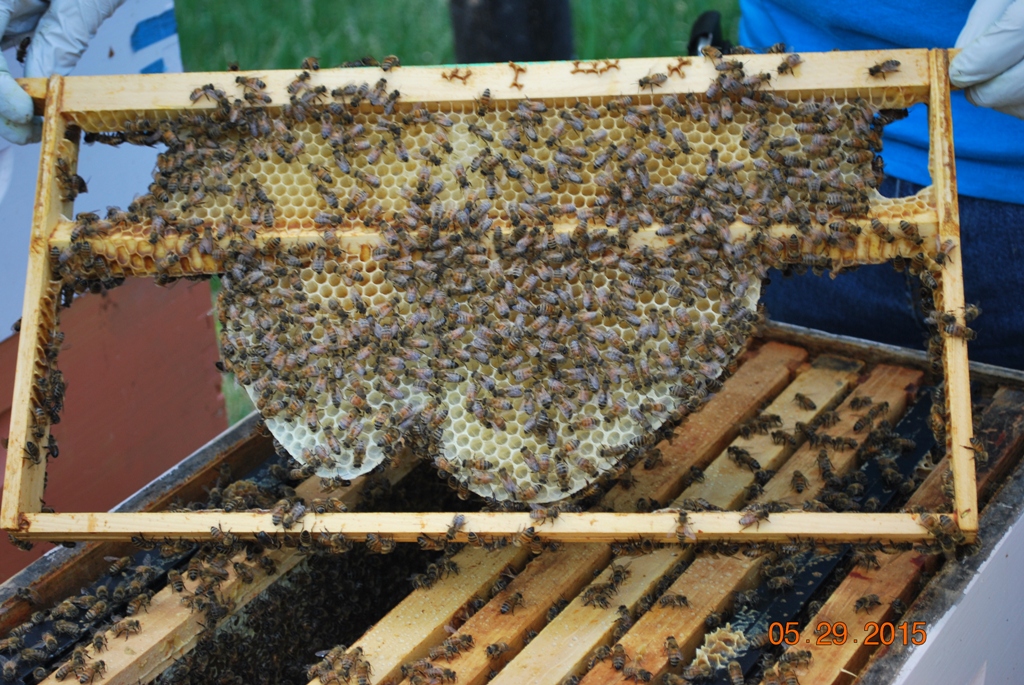
The frame is removed.
Note the different sections of the frame.
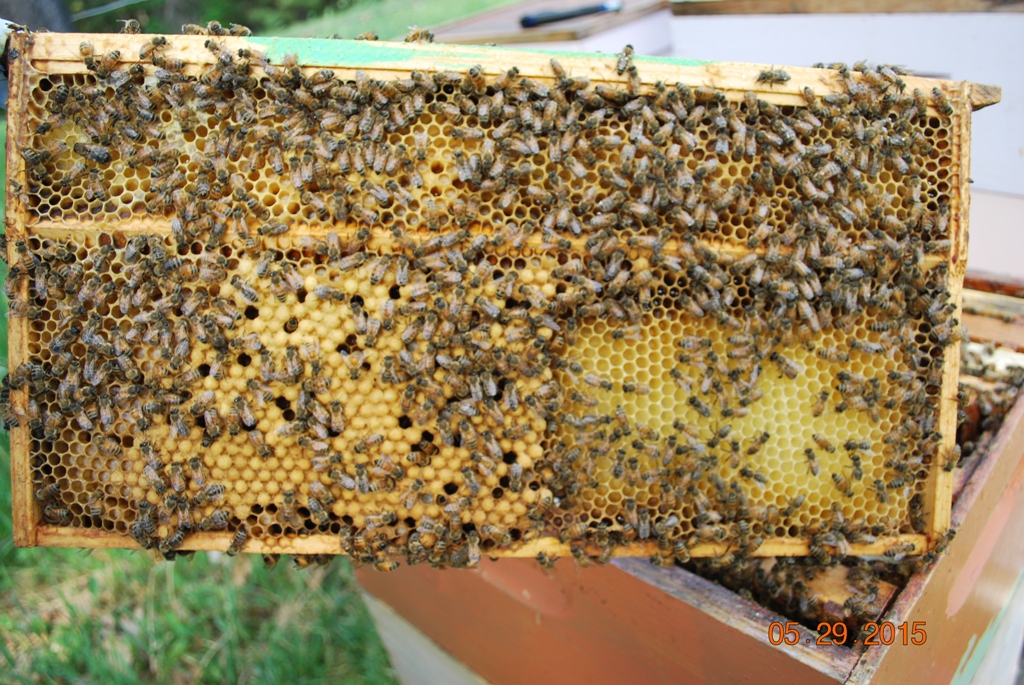
The left half is ready to be removed, the right side was removed and rebuild from a previous cutout.
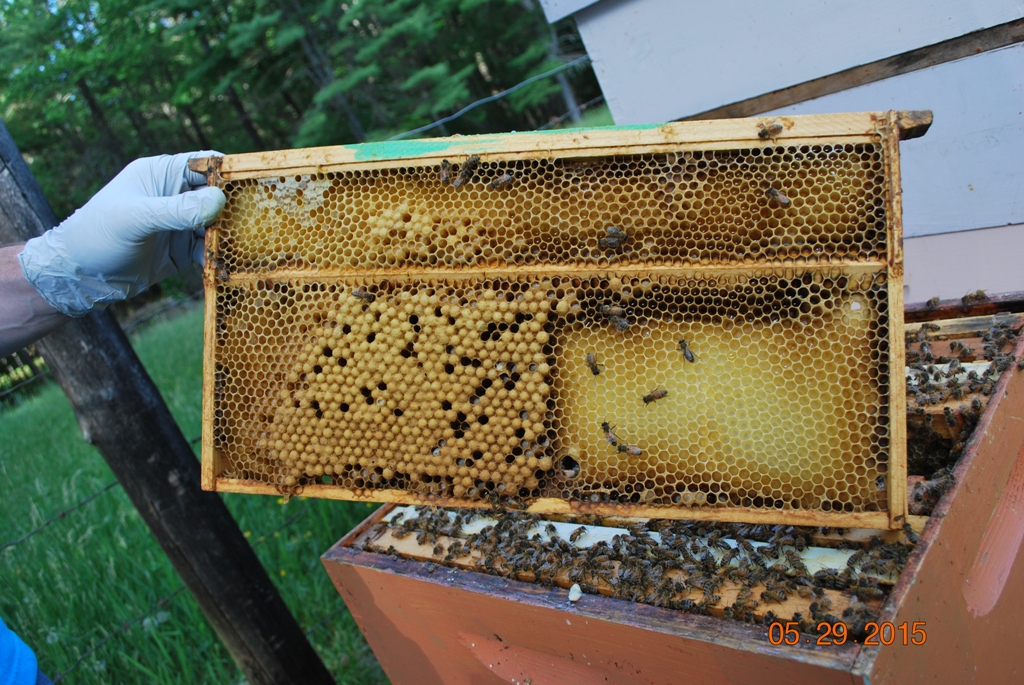
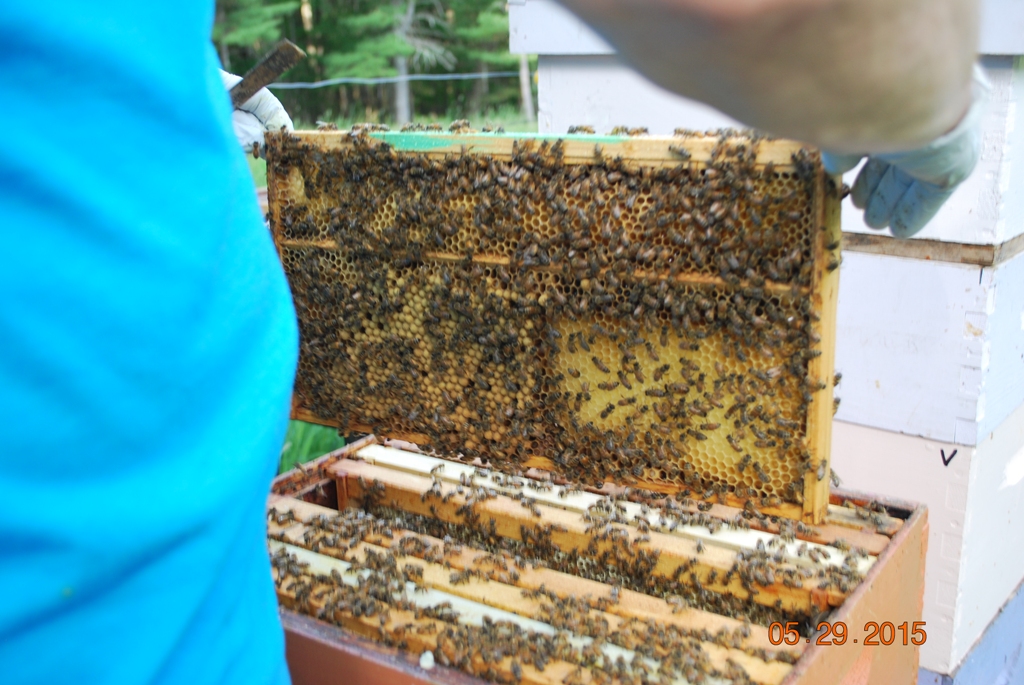
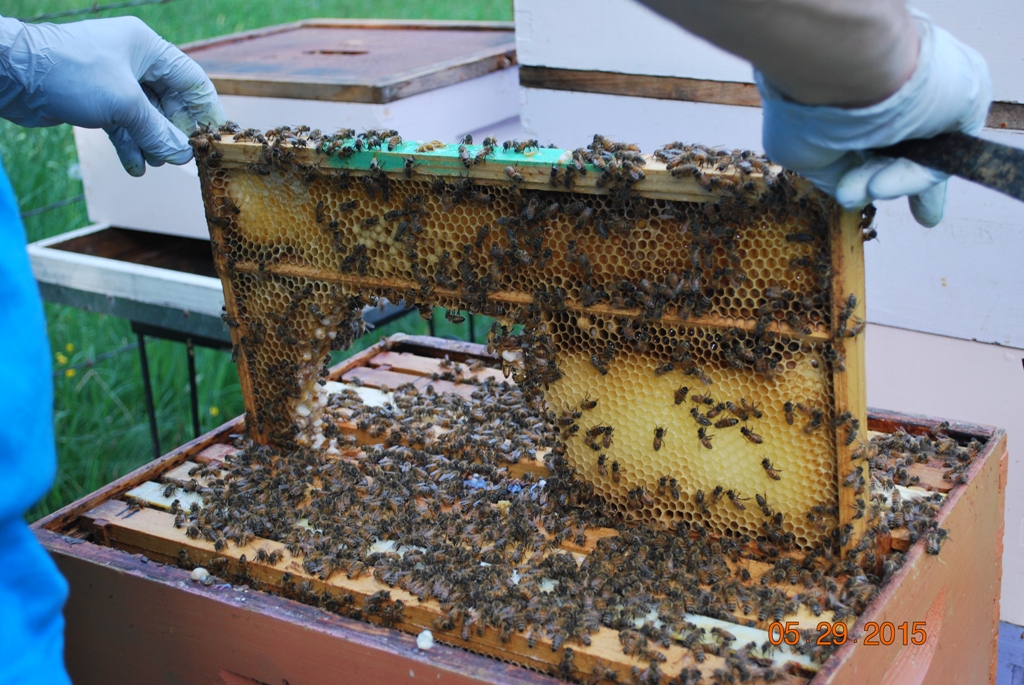
You can see more clearly after shaking off the bees.
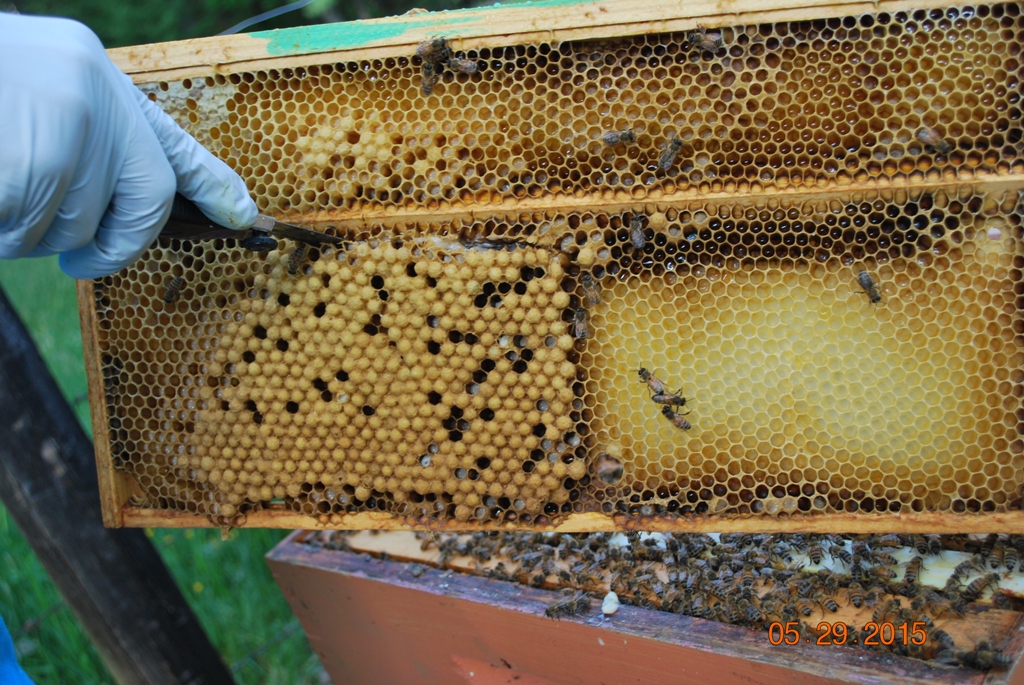
Cutting out the capped section, I used a thin snap off blade.
Here the section is mostly cut out.
As you can see the beesdo what they want when building the comb, the top half has a mix of drone and worker cells, and some honey and larvae.
Unlike the green plastic frames, I can cut out the drones, and leave behind the workers and honey.
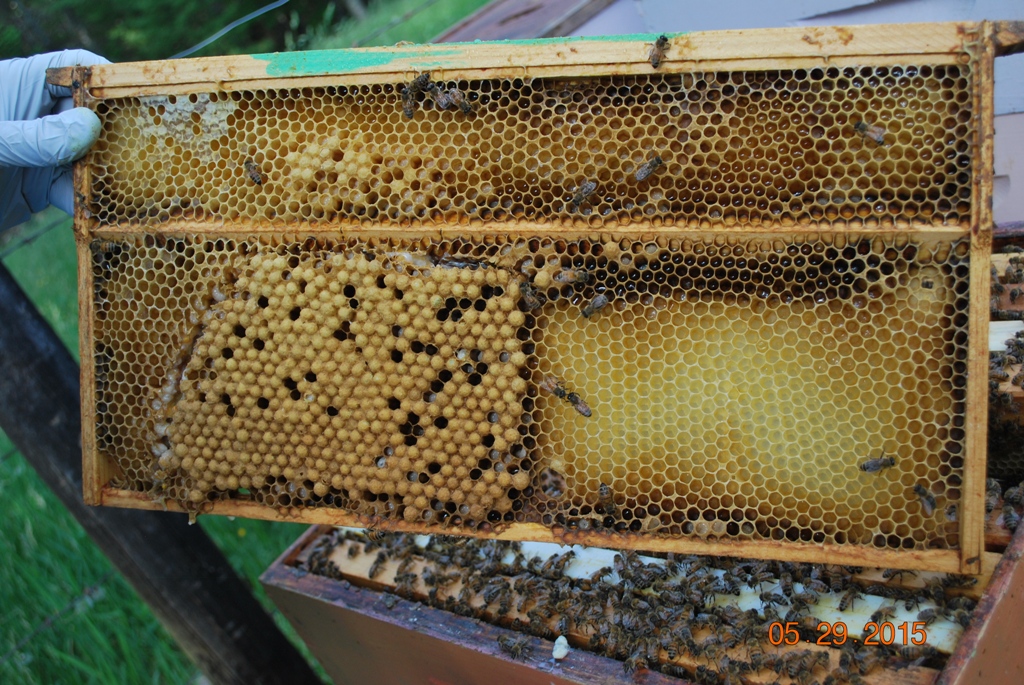
Once it is cut all the way around, just slip out the section.
Slip the frame back into place and the bees will cleanup and begin the rebuilding.
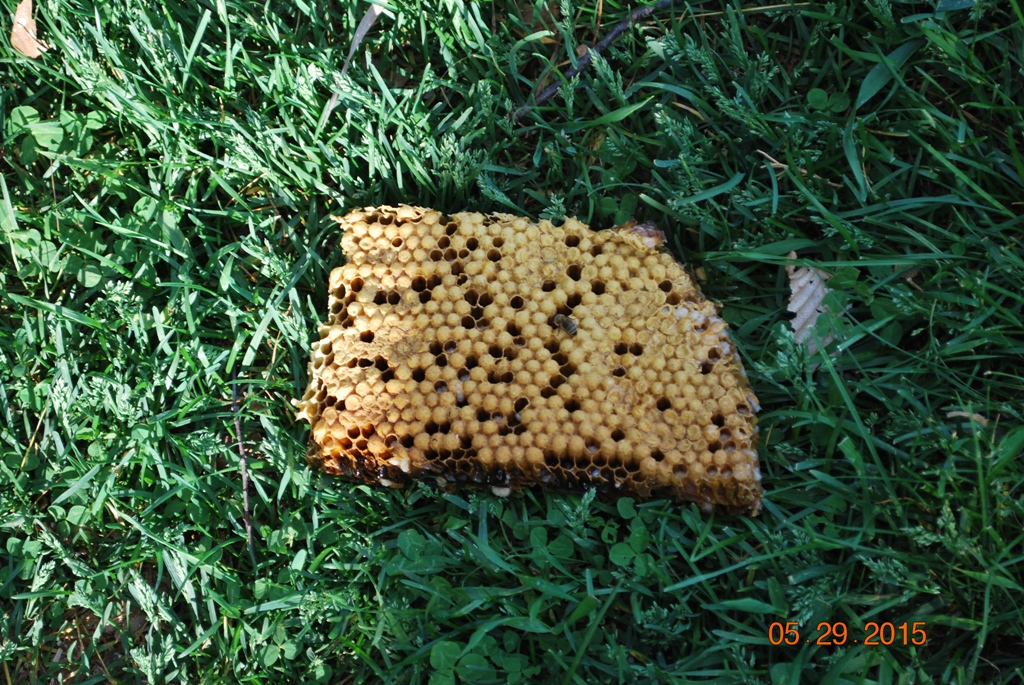
This is the section that was removed.